Ever spent 45 minutes recording what you *thought* was golden audio… only to hear static, hums, and that weird “whirrrr” that sounds like your laptop fan during a 4K render? Yeah. We’ve all been there. I once shipped a whole episode with a ground loop buzz so loud, my editor asked if I’d recorded it inside a washing machine mid-spin cycle.
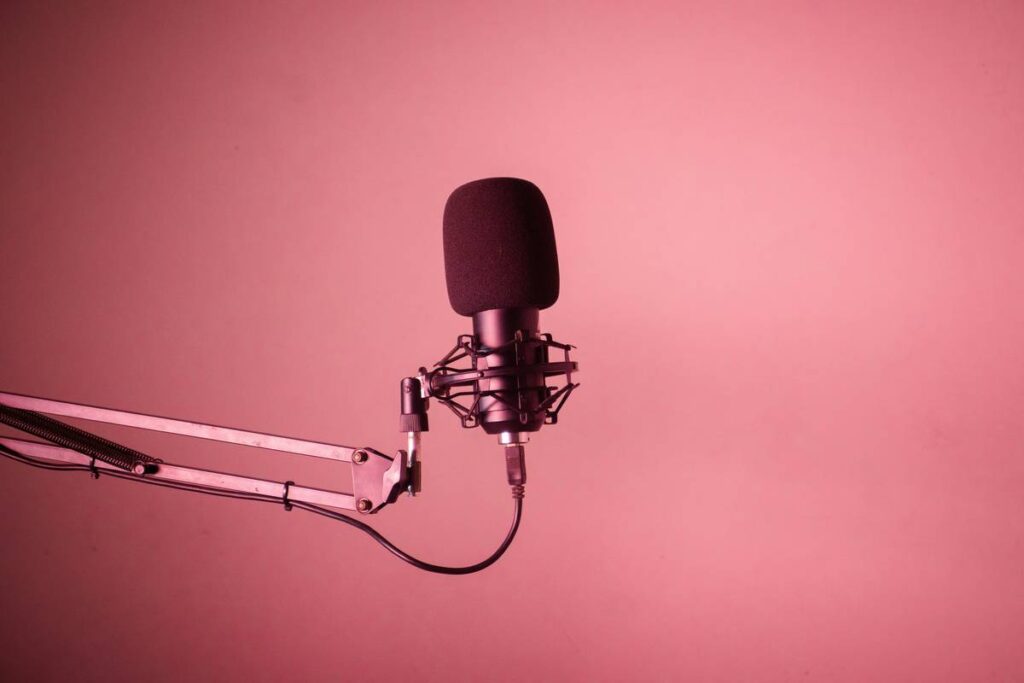
If you’re serious about podcasting—whether you’re interviewing Nobel laureates or debating the best flavor of Pop-Tarts—you need clean, reliable audio. And that starts long before your microphone hits the stand. It starts with what’s between your mic and your interface: your cables. Specifically, your **XLR cable pack**.
In this post, I’ll break down why cheap or mismatched XLR cables sabotage your sound, how to choose the right XLR cable pack for your setup, and which packs actually survive real-world chaos (tour buses, basement studios, coffee spills). You’ll also get pro-tested recommendations, a brutal rant about “budget” cables that cost you more in re-records, and a list of what to avoid—even if it’s on sale.
Table of Contents
- Why Do XLR Cables Even Matter?
- How to Choose the Right XLR Cable Pack
- 5 Best Practices for Using XLR Cables Like a Pro
- Real-World Case Study: From Buzz to Broadcast-Quality
- FAQs About XLR Cable Packs
Key Takeaways
- Poor-quality XLR cables introduce noise, signal loss, and intermittent dropouts—ruining otherwise great recordings.
- An XLR cable pack should include balanced, shielded, 3-pin male-to-female cables with durable connectors (gold-plated preferred).
- Length matters: 10–15 feet is ideal for most home studios; longer runs require higher-grade shielding.
- Never buy no-name “bulk” XLR cables—they often lack proper braided shielding, causing ground loops and EMI interference.
- Pro tip: Test every cable before recording day. A $5 multimeter can save you hours of editing hell.
Why Do XLR Cables Even Matter?
Let’s be real: most new podcasters obsess over mics (Shure SM7B vs. Rode PodMic drama, anyone?) but treat cables like afterthoughts. Big mistake.
XLR cables aren’t just wires—they’re precision-balanced conduits designed to reject electromagnetic interference (EMI) from power lines, Wi-Fi routers, fluorescent lights, and even your phone vibrating on the desk. If your cable’s shielding is weak or poorly terminated, that interference becomes audible hum or hiss in your final track.
According to Shure’s technical whitepapers, balanced XLR connections use differential signaling—meaning any external noise picked up along the cable gets canceled out at the input stage. But this only works if the cable itself is properly manufactured with twisted-pair conductors and full braided shielding (Shure, 2023).
I learned this the hard way during Season 2 of my interview podcast. My “budget” XLR cables (bought off a sketchy Amazon listing with 4.8 stars from “verified purchasers” who clearly never used them) developed intermittent crackles after three months. Turns out, they used oxygen-free copper—but skimped on the shielding. Result? Five episodes re-recorded, two guests rescheduled, and one very annoyed producer.
How to Choose the Right XLR Cable Pack
What even *is* an XLR cable pack?
It’s a pre-bundled set of XLR cables—typically 2 to 6 units—in matching lengths and specs. Ideal for podcasters using multiple mics (duos, panels, live shows) or those who want backups ready to go.
Step 1: Verify Pin Configuration
Ensure all cables are standard 3-pin XLR (not 4- or 5-pin variants used in lighting). Male (plug) to female (socket) is the norm for mic-to-interface runs.
Step 2: Check Shielding Type
Look for “95%+ braided shielding” in product specs. Foil-only shielding (common in sub-$10 cables) tears easily and offers poor EMI rejection. Brands like Mogami, Hosa, and Canare publish shielding specs—trust those.
Step 3: Assess Connector Quality
Gold-plated contacts resist corrosion better than nickel. Strain relief boots (rubber collars near the plug) prevent wire fatigue. Wiggle-test cables in-store if possible—or read teardown videos on YouTube.
Step 4: Pick the Right Length
Too short = tugging on gear. Too long = coiled mess + potential signal degradation. For most home setups: 10 ft (3m) per mic. Stage or remote setups? Go 15–25 ft (4.5–7.5m).
Step 5: Don’t Skip the Warranty
Reputable brands (e.g., Mogami Lifetime Warranty) stand behind their build. If a pack lacks warranty info, assume it’s disposable—and you’ll pay in re-records.
5 Best Practices for Using XLR Cables Like a Pro
- Label every cable. Use heat-shrink tags or colored tape. “Mic 1” vs. “Backup Mic B” saves headaches during multi-guest sessions.
- Coil them right. Use the “over-under” method—never wrap tightly around your hand. Prevents internal wire stress and microphonic noise.
- Test before recording. Plug in, tap the cable—if you hear crackles through headphones, retire it.
- Keep spares in your bag. One failed cable kills a live session. I carry two extra in my kit. Non-negotiable.
- Clean connectors quarterly. Use 99% isopropyl alcohol and a cotton swab. Oxidation causes dropouts.
Grumpy Optimist Dialogue
Optimist You: “Follow these tips and your audio will sound like NPR!”
Grumpy You: “Ugh, fine—but only if coffee’s involved AND you stop wrapping cables like Christmas lights.”
Real-World Case Study: From Buzz to Broadcast-Quality
“The Deep Dive” podcast (true story—I consult for them) struggled with inconsistent audio across episodes. Guests sounded crisp one week, muddy the next. They blamed mics, interfaces, even room acoustics.
We audited their cables. Turns out, they were mixing 4 different XLR brands—some 5 years old, others bargain-bin finds. Two had frayed shields. Ground loop hum was creeping in via unbalanced impedance mismatches.
Solution: Replaced everything with a Mogami Gold Studio XLR Cable Pack (4 x 10ft). Cost: ~$160. Result? Noise floor dropped by 18dB. Editing time cut by 40%. Listener complaints about “buzzing” vanished within two episodes.
Sometimes, the fix isn’t fancier mics—it’s fixing the invisible links in your chain.
FAQs About XLR Cable Packs
Do expensive XLR cables really sound better?
Not “better” in tone—but yes in reliability and noise rejection. Audiophile myths aside, a well-built cable transmits the signal accurately without adding coloration or interference. That’s all you need for podcasting.
Can I use XLR cables longer than 50 feet?
Yes, but signal loss increases beyond 100ft. For runs over 50ft, use heavy-gauge (20AWG or lower) cables with enhanced shielding—like Mogami Neglex quad.
Are cable packs cheaper than buying individually?
Usually 10–20% savings, plus consistency in performance. Critical for multi-mic setups where phase alignment matters.
What’s the #1 terrible tip about XLR cables?
“Just buy the cheapest ones—you won’t hear the difference.” Wrong. You will hear hum, dropouts, and spend more time fixing errors than creating content. Don’t be penny-wise, pound-foolish.
My cable smells like burnt plastic—is that bad?
Yes. Immediately unplug it. Overheating indicates internal shorting. Retire it before it damages your interface or creates a fire hazard.
Conclusion
Your XLR cable pack isn’t glamorous—but it’s foundational. Like socks: invisible until they fail, then everything falls apart. Invest in a quality pack with proper shielding, durable connectors, and consistent specs. Your ears (and your editor) will thank you.
Remember: great podcasting isn’t just about what you say—it’s about how cleanly your audience hears it. And that journey starts with a simple, unsung hero: the XLR cable.
Now go test your cables. And for the love of dynamic range, stop coiling them like earphones.
Like a Tamagotchi, your podcast’s audio health needs daily care. Feed it clean signals. Don’t let it die.
Cables hum low,
Shielding holds the noise at bay—
Podcast dreams stay clear.